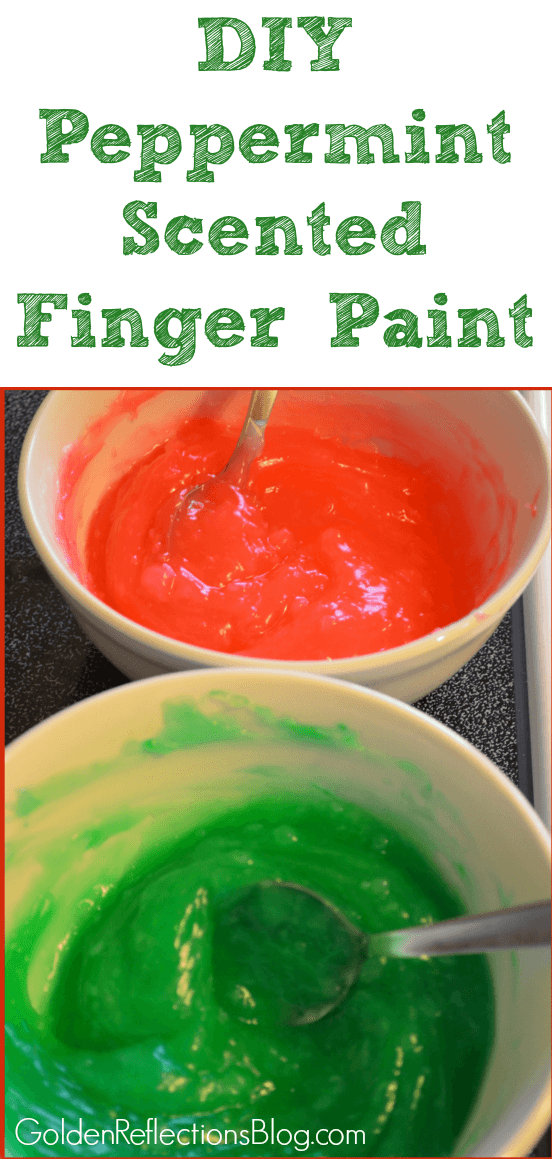
Peppermint Scented Homemade Finger Paint
Affiliate and Referral links are used below to promote products I love and recommend. I receive a commission on any purchases made through these links. Please see my disclosure policy for more details. As an Amazon Associate, I earn from qualifying purchases.
It’s always fun to create special holiday activities and crafts for your kids this time of year. There’s something about Christmas that adds excitement and wonder to the air. Today I am going to share my idea for a Peppermint scented finger paint activity.
This has been the first Christmas I have been able do little Christmas themed activities with my daughter. Last year she was only a few months old, so putting her in a cute outfit was enough.
This year I want to do a few little fun things for her that are age appropriate but that will also add to the excitement of this time of year. That is why I love the idea of making my own finger paint. Since it is non-toxic, I know that if she tries to eat it or would accidentally swallow it, then no harm is done!
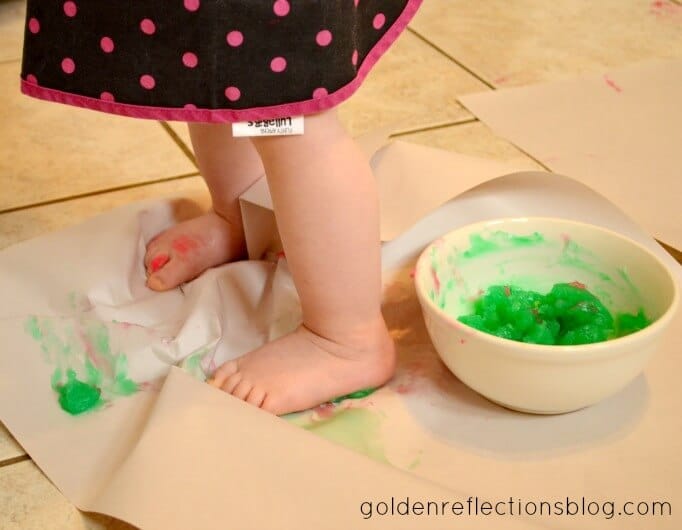
In fact, this makes a great holiday sensory activity for your little ones. My daughter always ends up down to her diaper, bare feet and literally ends up covered in it from head to toe.
I am also sharing some Occupational Therapy tips for this activity below.
Peppermint Scented Homemade Finger Paint
Ingredients:
1/2 cup Corn starch
3 tbsp Sugar
2 cups cold water
1 tsp Peppermint extract
3-4 drops of green and/red Food coloring
Directions:
Mix all the ingredients, except the food coloring, together in a pan over medium heat. Stir until it becomes thick.
Let it sit and cool for up to 30 minutes.
Divide into bowls and add the food coloring and mix until you have the color you want.
Place large pieces of art paper on the floor, preferably tile floor, for easy clean up.
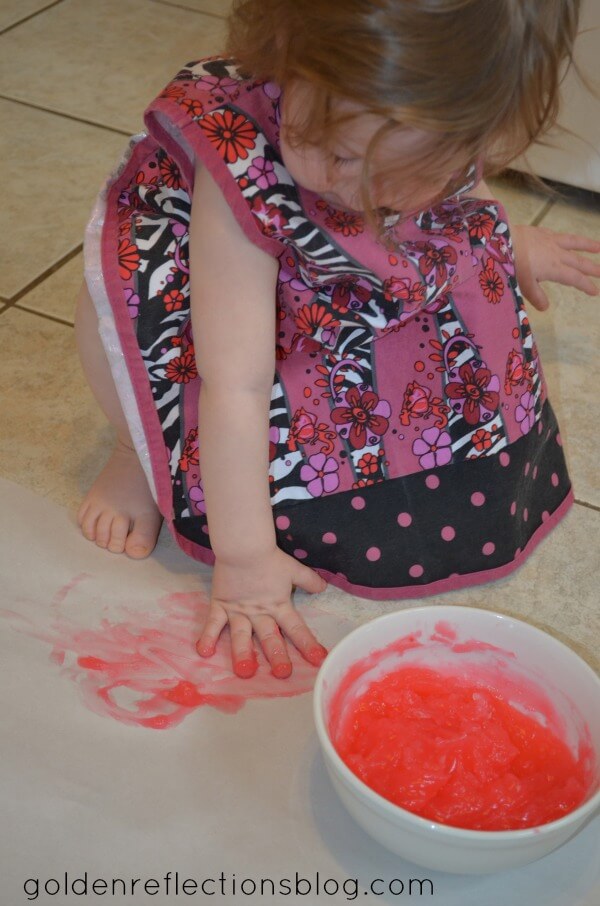
I also put a large kids craft apron on my daughter, partially so she is covered up for pictures, and so I also have less areas on her to clean up! I love this Pink Zebra bib![]() that we use for all her messy projects!
that we use for all her messy projects!
If you have an older child you can have them draw a specific picture based on Christmas, or just let them come up with their own Christmas designs. Since my daughter is obviously too little for that, I just let her play in it (which usually means her walking through it, haha).
OT Tips for Peppermint Scented Homemade Finger Paint
Hand Grasp/Hand Strengthening: Use some small painting brushes and have your child practice using proper pencil grasp while painting.
Sensory: Use it as a sensory experience and have your child use their hands to create their picture.
Finger Isolation/Eye-Hand Coordination/Bilateral Coordination: Encourage them to use their pointer fingers on both hands at the same time to create their picture.
Trunk Strength: Have your child lay on their stomach while using their elbows to lean on and create their picture.
Balance/Crossing Midline: Place the paper on the floor in front of your child, have them sit indian leg style or “criss-cross applesauce.” Put the green finger paint on their right and the red finger paint on their left, or visa versa. Have them use the opposite finger to reach across to get the finger paint with either their fingers or a paint brush.
You can also see my other posts for other versions of homemade finger paint here:
- Homemade Finger Paint (vlog)
- Cinnamon Scented Homemade Finger Paint
- Christmas Sensory bags with leftover Finger Paint
Follow Heather G. | Golden Reflections Blog ‘s board Sensory Fun on Pinterest.

Heather Greutman, COTA
Heather Greutman is a Certified Occupational Therapy Assistant with experience in school-based OT services for preschool through high school. She uses her background to share child development tips, tools, and strategies for parents, educators, and therapists. She is the author of many ebooks including The Basics of Fine Motor Skills, and Basics of Pre-Writing Skills, and co-author of Sensory Processing Explained: A Handbook for Parents and Educators.
I believe I would like to play with THAT!!! You
Sorry, happy fingers, apparently! I was trying to say how creative you are!
Hi!
I just made this paint for a babysitting job tomorrow to use with the children. It was very easy to make! I was wondering though, how do you store it? does it need to be refrigerated or does it just need to be put in a Tupperware container?
Thanx!,
Eviebehr
Hi Eviebehr,
I would put it in a tupperware container and leave it out of the fridge. When I put mine in the fridge it jelled up and was very hard to use afterwards. Good luck with it and I hope the kids love it!
~ Heather